
Inside the Restoration of an 1859 Chickering Grand Piano: A 5-Part Series
Brigham Larson PianosRedesigning the Action on an 1859 Chickering Grand
I have been working on an action redesign for an 1859 Chickering family heirloom grand piano from Florida. At more than 165 years old, this piano has an action that is very different from what modern pianists are accustomed to playing.
The original design is known as a Brown action, named after the man who developed it. It is a completely different animal from the modern grand action used today.
In the original action, the jack is integrated in a way that feels almost foreign compared with modern action parts. The whippen is glued directly onto its rail, and another rail runs across each section to provide a type of global let-off adjustment.
It is clever, historically important, and remarkably interesting to study. It is also antiquated.
Modern pianists expect an action to be responsive, repeatable, controllable, and pleasing to play. The goal of this project is to preserve the Chickering’s original structure and character while giving the family the feel and performance of a modern grand action.

Starting With What Cannot Move
The first step was determining which measurements and locations were fixed.
The strike point is fixed, meaning each hammer must contact its string in the correct location. The front of the piano is fixed. The action cavity is fixed. The soundboard, pinblock, plate, string height, fallboard, and original case structure all create boundaries for the new action.
Some elements can be adjusted later by ear. This is especially true in the treble, where moving the action even a very small amount can produce a significant tonal difference. Before reaching that stage, however, the design must be mathematically close.
I began by measuring screw locations, rail heights, component thicknesses, string positions, the underside of the pinblock, the edge of the soundboard, the action cavity, and the original key frame.
I then modeled the system in Fusion. The key frame, keys, hammers, shank flanges, wippens, capstans, action rails, fallboard clearance, and surrounding structural components all had to be represented accurately enough that I could trust the geometry.
The modeling stage is painstaking, but it is extremely useful. Once the parts are created digitally, I can see how everything relates in three-dimensional space before cutting any wood or aluminum.
Replacing the Brown Action With Modern Parts
The original Brown action is being replaced with modern, off-the-shelf Renner-style components.
These are the types of components used in modern grand actions: shank flanges, hammers, wippens, capstans, rails, and brackets designed to produce the touch and repetition that today’s pianists expect.
The modern grand action became widely adopted not long after this Chickering was built. It was a revolutionary improvement in action design.
A pianist in 1860 may have preferred the Brown action simply because it was familiar. For a modern pianist, however, a properly designed contemporary grand action is generally more responsive and satisfying to play.
The challenge is that this Chickering was never designed to receive modern parts. The piano gives us the strike point and the available physical space, but almost everything else must be redesigned.
Making the Action Geometry Work
Action geometry can feel abstract when it is discussed in terms of inputs, outputs, arcs, leverage, ratios, and the so-called magic line. When you are redesigning an action from the ground up, those concepts become very practical.
There are several critical dimensions that must work together.
The hammer needs to meet the string at the correct angle. The hammer hanging distance must be appropriate. The whippen flange and shank flange must be positioned correctly. The key ratio matters. The capstan must pass properly through the magic line between the key pivot point and the center of the whippen flange.
The original balance rail in this Chickering was nowhere near the modern two-to-one key ratio.
Because I am already re-machining the rails and brackets, I have a rare opportunity to place the geometry almost exactly where it should be (learn about 3D piano printing) for the modern action components.
That is one of the most satisfying parts of this project. We are not simply squeezing modern parts into an antique piano and hoping they work. We are designing the action so the components sit where they are supposed to sit.

Designing New Action Rails
Once the hammer-flange and whippen-flange locations were established in the model, the next question was how to support them inside the piano.
That required designing entirely new action rails.
The hammer rail must hold the hammer flanges at the correct height and position. The whippen rail must hold the whippen assemblies exactly where the geometry requires them.
I worked through the rail profiles in Fusion by creating sketches, checking clearances, and shaping the rails so they would support the modern components while still fitting inside this very old Chickering.
I also incorporated some adjustability into the design. The whippen rail uses slots that allow a small amount of movement if the action spread needs to be adjusted after the parts are installed.
That adjustability matters. A digital model can get the design extremely close, but the piano always has the final say.
I also added our logo to the rail. It may not be necessary from a mechanical standpoint, but it should look excellent once the CNC machine carves it into the finished part.
Machining the Action Brackets
After designing the rails, I moved on to the brackets.
The brackets support the action rails, so their shapes had to be modeled around the rail profiles. The end brackets are slightly different because there is not enough room to mount them exactly as they would be mounted in a modern grand piano.
That is one of the realities of this type of restoration work. We can bring modern action geometry into an antique piano, but we still have to respect the limitations of the original structure.
The brackets are being machined from half-inch aluminum on the CNC.
I am still relatively new to machining aluminum, so I am approaching the process one operation at a time. Every setup and toolpath needs to be considered carefully. Missing a step can ruin a part, and aluminum does not forgive careless machining.
At this point, the exterior forms of the brackets have been cut. The next operations will open the center sections and complete the remaining details.
Once the brackets are finished, I can machine the wooden hammer and whippen rails and begin fitting the complete system into the piano.
Why Redesign an Action This Extensively?
This type of action redesign is not a small project.
It requires detailed measuring, digital modeling, mechanical redesign, CNC machining, woodworking, fitting, regulation, and repeated testing. All of that work is being performed on a piano that was built before the Civil War.
That is also what makes the project so worthwhile.
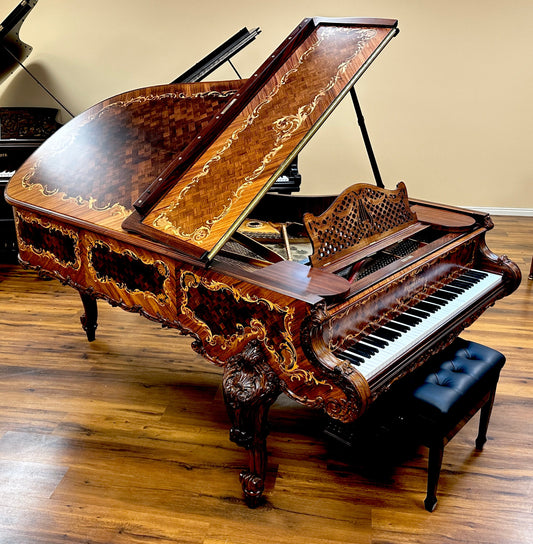
An 1859 Chickering grand is an important piece of American piano history. The goal is not to erase that history or turn the piano into something it was never meant to be.
The goal is to give the family heirloom instrument a new musical life for the next generation.
That is the balance I am always looking for in piano restoration. Respect the original instrument, preserve what should be preserved, and make the piano genuinely useful for the musician who will play it today.
Watch the full playlist ↓
Do you have a family heirloom piano in need of restoration? Each year, our shop restores around 100 heirloom upright and grand pianos, helping families preserve the music, memories, and craftsmanship of their treasured pianos. If you’re considering restoring your family heirloom, we’d love to evaluate your piano and provide a free restoration quote.